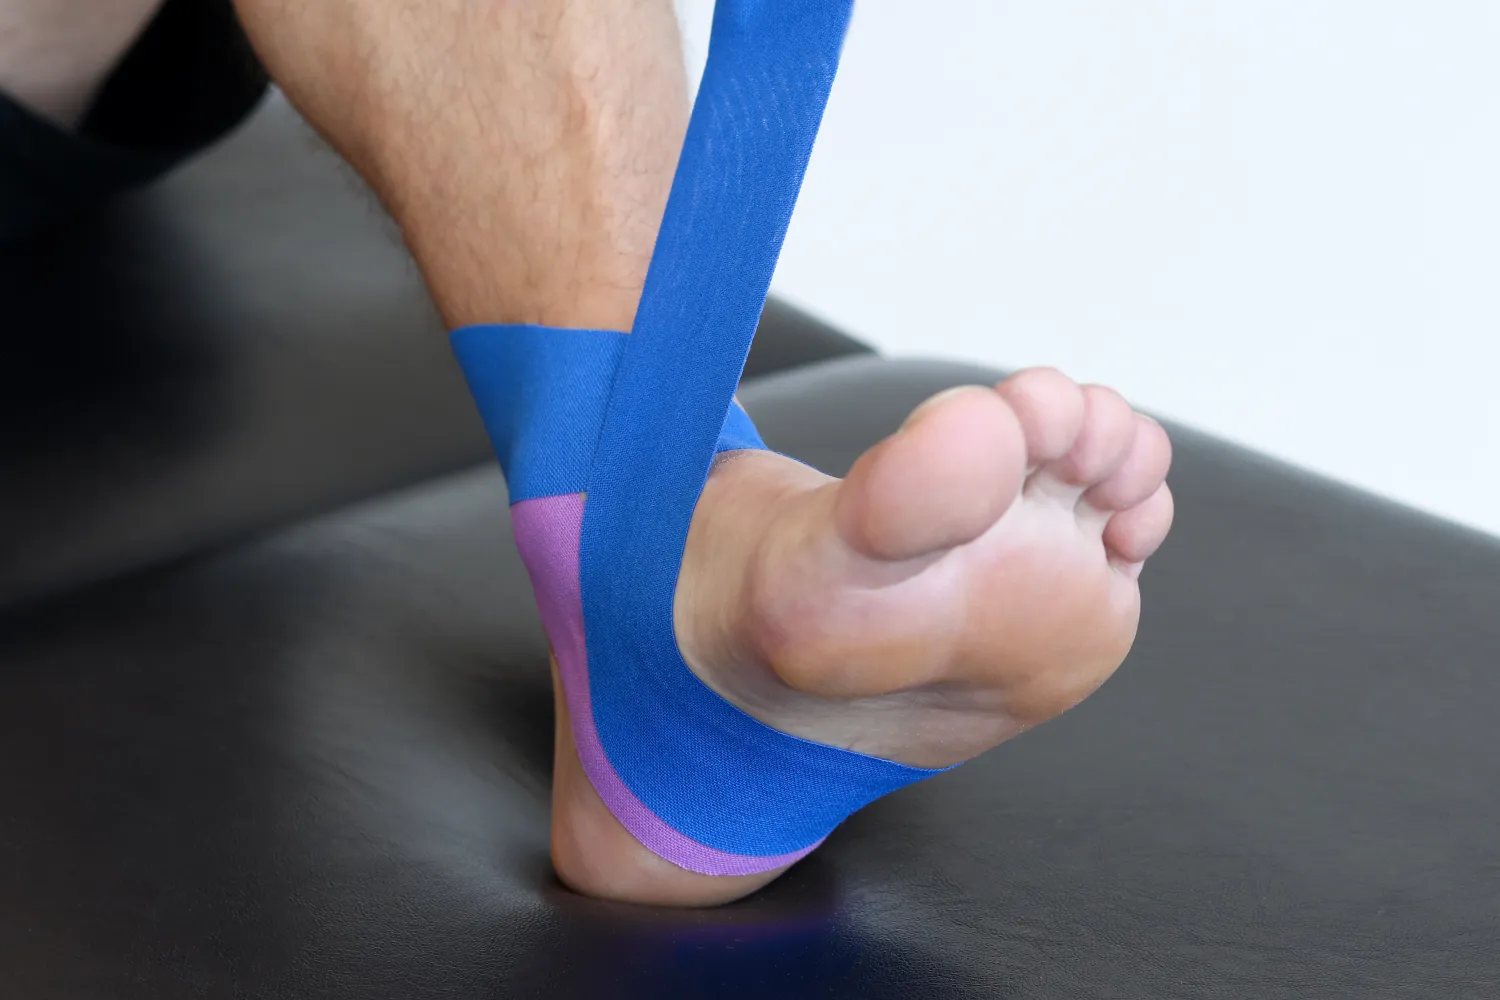
Taping on the ankle has been a practice for quite long among athletes, trainers, and any individual who is engaged in some activities. Whether for support, injury prevention, or aiding recovery, ankle taping is often considered essential, especially during sports or when managing sprains. This article provides step-by-step instructions and actionable strategies, enriched with practical advice, to help you learn how to tape an ankle effectively.
Why tape an ankle?
- Support and stability: Taping stabilises the ankle joint, reducing the risk of rolling or twisting during physical activity. Athletes in high-impact sports benefit significantly from this support.
- Injury prevention: Particularly for those with a history of ankle problems, regular taping can reduce the likelihood of sprains and strains.
- Aid recovery: Taping supports the healing of minor injuries, such as heel pain, by restricting unwanted movement and providing gentle compression to reduce swelling..
When to use ankle taping
- Before physical activity: In sports such netball, rugby, and basketball that need for quick direction changes, preventative taping helps.
- Post-injury: After a minor injury, taping can aid in recovery of strength and mobility.
- Chronic instability: Regular taping would help those with weak or unstable ankles tremendously in terms of avoiding more damage.
What you’ll need
Before you begin, gather the following materials:
- Athletic Tape: Sports tape of strong, non-elastic grade is best.
- Pre-Wrap (Optional): A foam layer to prevent skin irritation.
- Scissors: To cut the tape as needed.
- Adhesive Spray (Optional): Improves the tape’s grip, especially during intense activities.
Step-by-step guide to taping an ankle
1. Prepare the ankle
- Clean the skin: Make sure the skin is dry and clean in order to increase adherence.
- Position the foot: Ankle will naturally rest at a 90-degree angle; so, place the foot in that angle.
- Apply pre-wrap (Optional): Use a thin layer of foam for comfort and skin protection.
2. Anchor the tape
- Place two anchor strips around the lower leg, just above the ankle bones.
- Add a third anchor strip around the midfoot, snug but not overly tight.
3. Create stirrup strips
- Guide the tape under the heel and secure it to the anchor points on both sides of the ankle.
- Slightly overlap the stirrups for a robust support structure.
4. Apply figure-eight strips
- Begin at the anchor on the lower leg, loop the tape beneath the arch, then cross it diagonally over the foot and return to the starting point.
- Repeat for added stability.
5. Close the gaps
- Cover exposed areas with additional tape for complete support.
- Avoid excessive layering to maintain proper circulation.
6. Finish with heel locks
- Start at the heel’s base, loop the tape over the back of the foot, and secure it on the opposite side.
- Repeat on the other side to lock the heel firmly in place.
Tips for effective taping
- Don’t tape too tight: Extremely tight tape could block circulation and lead to numbness or discoloration. Always ask for solace.
- Test the range of motion: After taping, make sure the foot can move just enough yet stays steady. Function as well as support depend on this harmony.
- Remove tape after use: Application of extended tape could cause skin irritation. Remove it softly with scissors or tape cutters.
- Use tape sparingly: Excessive tape could weaken the ankle muscles with time. For long-term results, mix taping with strengthening activities.
When not to tape
- Severe injuries: Taping is not a substitute for medical care for serious sprains or fractures.
- Skin conditions: Avoid taping damaged, infected, or sensitive skin.
- Circulation issues: Consult a professional before taping if you have poor circulation.
Alternatives to taping
If taping isn’t suitable, consider these options:
Ankle braces: Braces give the same degree of support without calling for tape.
Compression wraps: Elastic bandages help to lower swelling and offer some light support.
Rehabilitation exercises: Strength-building exercises like heel lifts and balance training can improve stability.
Common mistakes to avoid
- Skipping preparation: Ensure the skin is thoroughly cleaned and dried before applying the tape.
- Ignoring comfort: Uncomfortable taping can aggravate conditions and compromise performance.
- Overlapping excessively: Too much tape can reduce mobility unnecessarily.
- Improper technique: Poor taping can cause more harm than good. Take the time to learn proper methods.
The importance of ankle taping in Australia
In Australia, where sports and outdoor activities are somewhat common, knowing how to tape an ankle comes in handy. Whether you’re an athlete getting ready for a game or a parent helping a junior football player, this approach can help you stay active and free from injuries.
Conclusion
Ankle taping is a simple yet effective way to provide support, prevent injuries, and promote healing. By following the steps and tips outlined in this guide, you can confidently tape an ankle for yourself or others. However, remember that taping is not a substitute for professional medical care in severe cases.
Practice the technique, and you’ll be ready to use this skill whenever needed. Grab your tape and start today!


